How to plan a gallery wall, step by step
Published
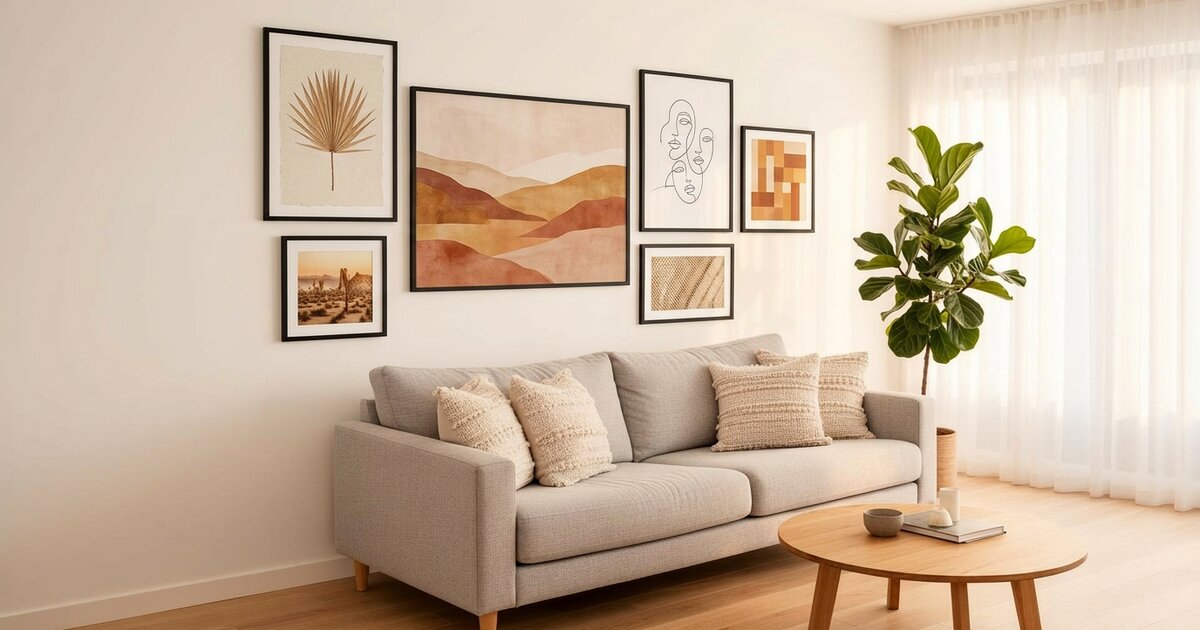
Knowing how to plan a gallery wall saves you from extra nail holes and from a wall that looks almost right. The method below works for any wall. At the end it shows how to do each step with WallMoment's gallery wall planner, which also works as a gallery wall layout generator that shows an arrangement on a photo of your own wall.
The steps at a glance
- Measure the wall and note the furniture.
- Choose a layout.
- Choose a style for the art.
- Pick print sizes and a frame.
- Preview the arrangement on your wall.
- Order the prints.
- Hang the wall.
Step 1: Measure the wall and note the furniture
Measure the width and height of the space you want to fill. If there is furniture below, such as a sofa, a bed or a console, measure that too, because a gallery wall usually looks best when the arrangement is a bit narrower than the furniture beneath it. Note windows, doors, outlets and switches, since art should stay clear of them.
Step 2: Choose a layout
The layout is the overall shape of the arrangement. Wide and low walls suit a single row or a clustered grid. Tall and narrow walls suit a vertical stack. Large open walls suit a salon style mix. Centered furniture suits a symmetrical layout. For a full comparison, read gallery wall layouts.
WallMoment offers six layouts: Gallery Grid, Single Row, Salon Style, Symmetrical, Vertical Stack and Diptych / Triptych.
Step 3: Choose a style for the art
Decide on a look before you pick individual pieces: a shared color palette, a single art style or a theme. A theme keeps a varied set of pieces feeling related.
WallMoment generates the art for you with AI and offers 30 curated themes, plus a Custom Prompt option where you describe your own style. The themes include art styles such as Modern Abstract and Impressionist, rooms such as Kids & Nursery, moods such as Serene & Calming, cities and places such as Miami and Florence, and holidays such as Christmas.
Step 4: Pick print sizes and a frame
Mix sizes on purpose. One larger anchor piece with smaller supporting pieces is a common way to make an arrangement feel designed rather than random. As a rule of thumb, leave about 2 to 3 inches between frames, and note that a frame adds to the outside dimensions of a print.
WallMoment prints in 13 sizes, from 8″ × 10″ to 24″ × 36″. You can order framed prints in Black, Natural or White, or choose No Frame for an unframed print.
Step 5: Preview the arrangement on your wall
The most useful planning step is seeing the arrangement before you buy. The old way is to cut paper to the size of each frame and tape it to the wall. Do that if you like, because it also tells you where to put the nails.
With WallMoment you can preview a full arrangement on a photo of your own wall instead:
- Upload a photo of your wall.
- WallMoment generates a complete arrangement shown on your photo.
- Pick a different theme or layout when you regenerate, or regenerate or edit a single piece.
WallMoment places new art on empty wall space in your photo, and the AI is instructed to keep it clear of windows, doors and furniture. Because the art is AI generated, the preview is a guide to the arrangement and style, not a promise of exactly how each print will look on your wall.
Step 6: Order the prints
Add single pieces to your cart or buy the whole wall at once. In the cart, choose a frame color or No Frame for each piece. Shipping is included in the price, and WallMoment ships to the United States, Canada, the United Kingdom, Ireland, Australia, New Zealand and a number of European countries. Planning is free and needs no account. You create a free account when you order.
Step 7: Hang the wall
Start with the anchor piece and work outward, keeping the gaps even. Hang the center of the arrangement near eye level, which many designers put at about 57 inches from the floor, and use paper templates and painter's tape to confirm the positions before you drill. For the common above-the-sofa case, see a gallery wall above a couch.
Plan yours now
Upload a photo of your wall to the gallery wall planner to see an arrangement on your own wall. Planning is free.
FAQ
How do I plan a gallery wall layout?
Measure the wall and the furniture below it, pick a layout shape that fits, choose a consistent style for the art, decide on sizes with one anchor piece, and preview the arrangement before you hang anything. WallMoment's planner lets you preview an AI-generated arrangement on a photo of your own wall.
How far apart should frames be on a gallery wall?
A common rule of thumb is about 2 to 3 inches between frames. Whatever gap you choose, keep it the same across the whole arrangement.
How high should I hang a gallery wall?
Many designers center the arrangement near eye level, at about 57 inches from the floor. Above furniture, leave a small gap between the furniture and the lowest frames.
Is WallMoment a free gallery wall planner?
Planning is free and needs no account. You upload a photo of your wall, generate an arrangement and edit it for free. You only pay if you order prints, and you create a free account at that point. Generation has daily limits.
Do I need a photo of my wall to use the planner?
A photo of your wall is how the planner works best, because it shows the arrangement on your own wall. You can also start from scratch without a photo.
Related
- Gallery Wall Layouts: 6 Ideas and How to Choose
Grid, salon, single row, symmetrical, vertical stack, diptych and staircase gallery wall layouts compared, with how WallMoment's six layouts map to them.
- Gallery Wall Above a Couch: Sizing and Spacing
Sizing, height and spacing rules for a gallery wall above a couch, with example sizes and how to preview the wall on your own photo.
See it on your own wall
Upload a photo of your wall and preview a gallery wall arrangement on it. Planning is free.